这篇文章主要介绍“vue3和vue2中mixins如何使用”的相关知识,小编通过实际案例向大家展示操作过程,操作方法简单快捷,实用性强,希望这篇“vue3和vue2中mixins如何使用”文章能帮助大家解决问题。
前言
vue的mixins里面放公共的js方法,但是vue3之后使用方法还是有些改变,这里来罗列下他们的区别。
Vue2
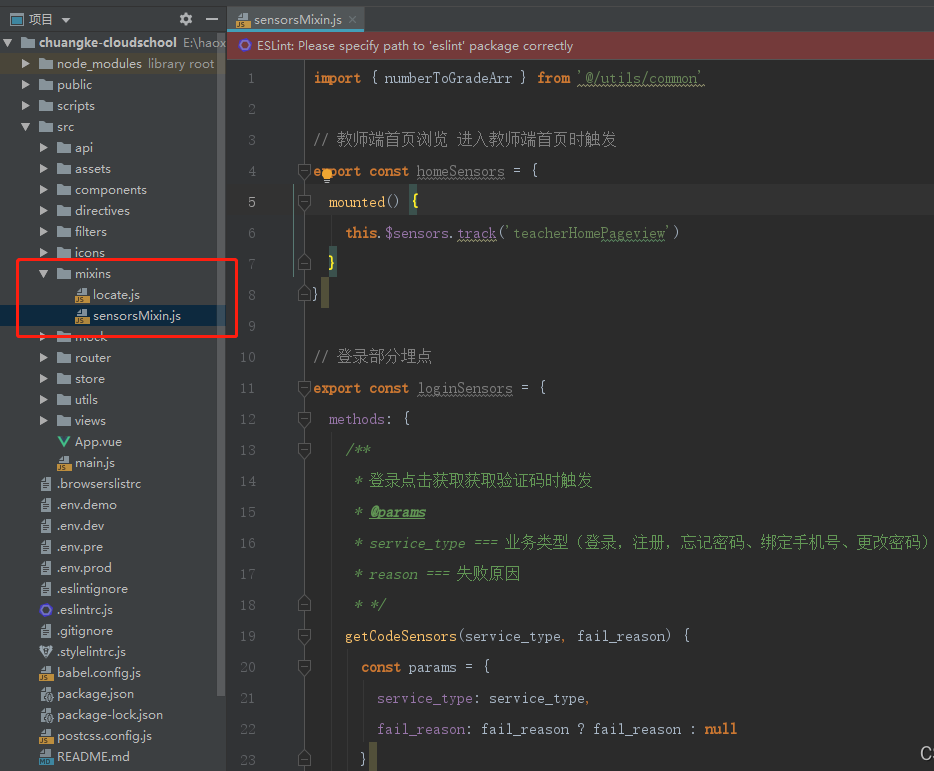
1、封装的mixin方法

export const homeSensors = { mounted() { this.$sensors.track('teacherHomePageview') }, methods:{ abc(){ alert(1) } }}2、具体页面引用 abc.vue
import { homeSensors } from '@/mixins/sensorsMixin'export default { mixins: [taskAssign], }3、具体页面使用 abc.vue
created() { this.abc() //mixin里面的具体方法 },vue3官方入口(个人建议,不要再mixin用setup)
一、封装mixin里面具有setup
注意:
vue3的官方统计mixin方法有两种,全局和具体组件使用,均没有支持在mixin的js文件中使用setup, 在里面直接写入setup阶段,是不能直接获取到的,如果我们想要用setup,需要换一种思路,引入js的思路
具体步骤
1、封装方法 common.js

//setup中调用的mixins方法import { computed, ref } from 'vue'export const common = { alertCon(content) { if(content){ alert(content) }else{ alert(1) } }, setup(){ const count = ref(1) const plusOne = computed(() => count.value + 1) function hello(){ console.log('hello mixin'+plusOne.value) } return{ count, plusOne, hello } }}2、页面具体使用
// vue页面中引入import {common} from '../../../mixins/common'export default{ setup(){ common.alertCon() const {count,plusOne,hello} = common.setup() hello() console.log(count.value, plusOne.value) }}二、不需要在mixin里面使用setup (官方支持用法)
官方入口:点我
Mixin 提供了一种非常灵活的方式,来分发 Vue 组件中的可复用功能。一个 mixin 对象可以包含任意组件选项。当组件使用 mixin 对象时,所有 mixin 对象的选项将被“混合”进入该组件本身的选项。
例子:
// 定义一个 mixin 对象const myMixin = { created() { this.hello() }, methods: { hello() { console.log('hello from mixin!') } }} // 定义一个使用此 mixin 对象的应用const app = Vue.createApp({ mixins: [myMixin]}) app.mount('#mixins-basic') // => "hello from mixin!"具体使用
1、封装方法 common.js

//setup中调用的mixins方法import { computed, ref } from 'vue'export const common = { mounted(){ alert('我是mounted的方法') },}2、页面具体使用
import {common} from '../../../mixins/common'mixins: [common],3、页面效果:刷新以后

关于“vue3和vue2中mixins如何使用”的内容就介绍到这里了,感谢大家的阅读。如果想了解更多行业相关的知识,可以关注编程网行业资讯频道,小编每天都会为大家更新不同的知识点。


