目录
jenkins 自动化单元测试持续集成php Phpunit 构建流水线示例配置,这里是winwods配置示例
都是默认安装
安装完请求地址http://127.0.0.1:8080/
后面需要设置账户密码
安装xUnit插件
Jenkins的强大之处之一是可以把各种单元测试框架(JUnit、CppUnit、PHPUnit等)的结果以可视化的方式呈现在页面上。我们先安装xUnit(其中包含了对PHPUnit的支持),以便查看后续单元测试的结果。
win10重启Jenkins
cmd命令方式:以管理员身份运行cmd.exe进入到自己的jenkins安装目录:cd D:\Jenkins停止服务:jenkins.exe stop启动服务:jenkins.exe start重启服务:jenkins.exe restarturl重启关闭jenkins服务http://localhost:8080/exit 网址就能关闭jenkins服务重新启动jenkins服务器http://localhost:8080/restart 网址就能重启jenkins服务重新加载配置信息http://localhost:8080/reload 网址就能重新加载配置信息全局环境设置
地址: http://127.0.0.1:8080/manage/configure
还是多说说这个环境变量的问题


创建项目配置
描述
自己填一下
源码管理

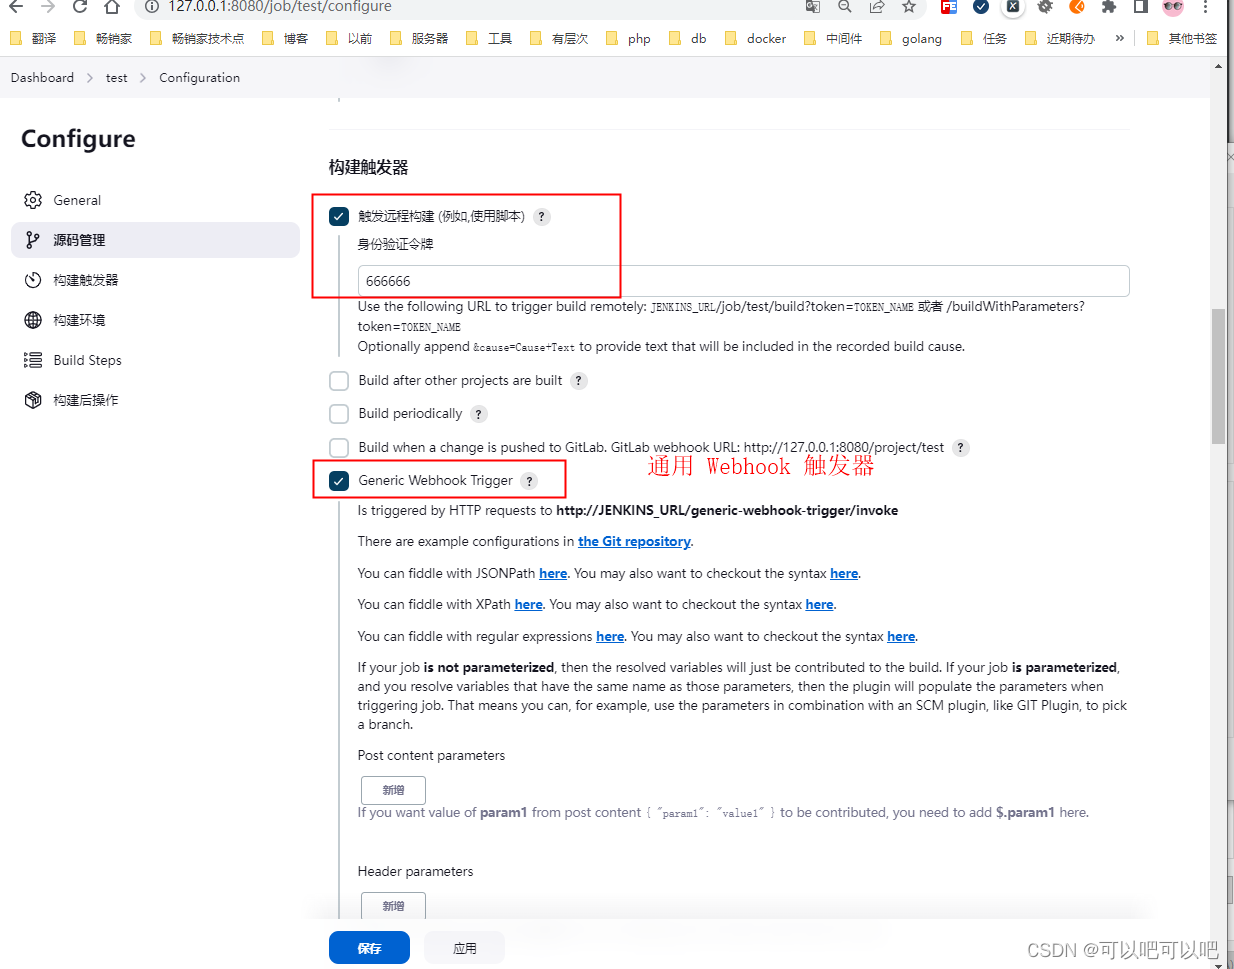
构建触发器
配置代码变更后自动构建配置

构建步骤
windows选择executewindwos
linux 选择Execute shell

插件安装
phpunit需要安装JUnit Plugin组件
还有可以安装一下显示测试报告的包
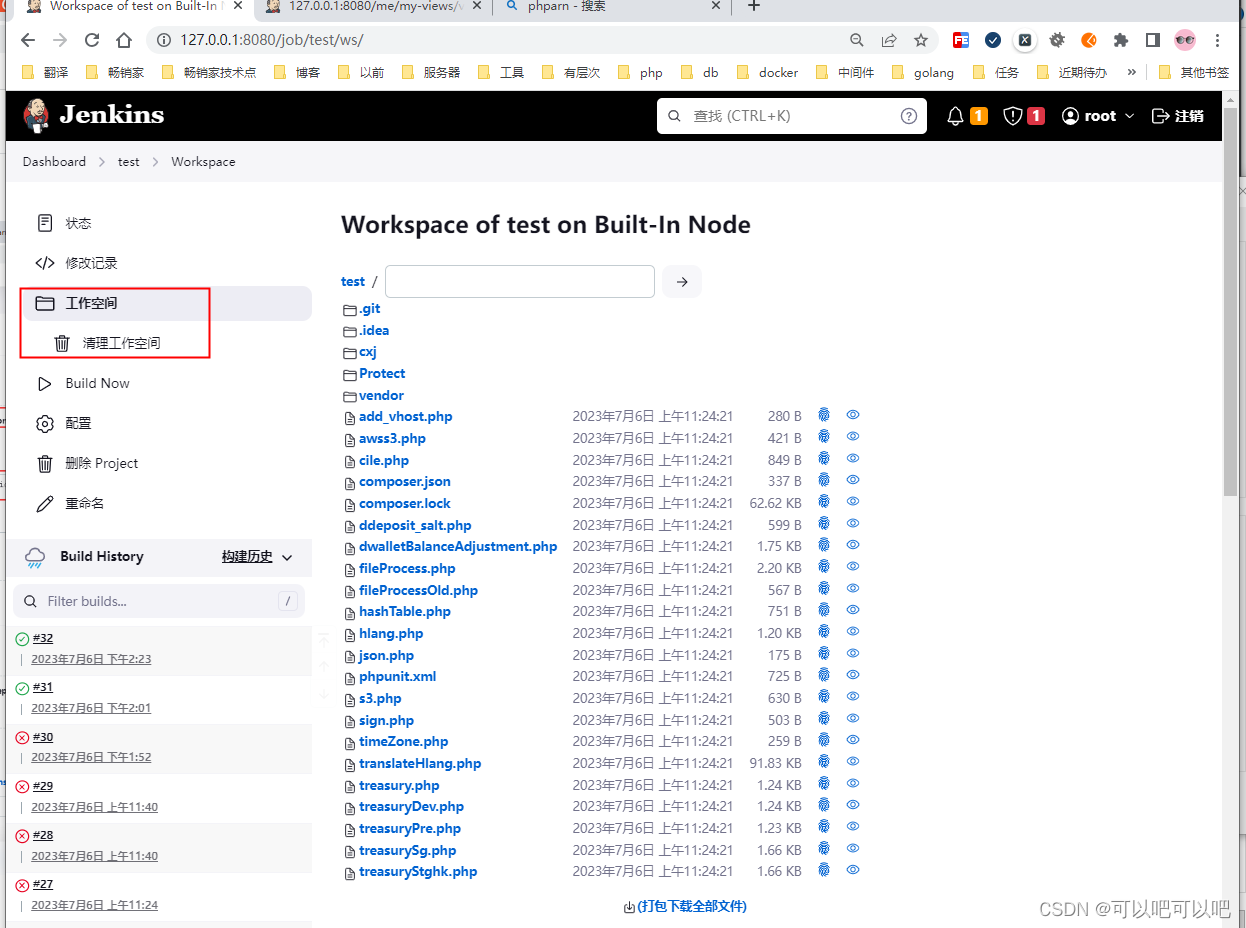
工作空间
git配置成功后工作空间就能获取到代码
Build new->选择构建 可以构建代码包


项目根目录配置
phpunit.xml
protect/Tests/Unit protect/Tests/Api protect/Biz protect/Service protect/EntityService Protect/Tests/test_start.php
composer.json
{ "name": "test/public-test", "description": "Protect/Tests", "require-dev": { "phpunit/phpunit": "6.2.4" }, "require": { "php": "^7.0", "ext-json": "*", "ext-curl": "*", "ext-redis": "*" }, "autoload": { "psr-4": { "App\\": "Protect/" }, "classmap": [ ] }}安装phpunit
Composer install如果修改了composer配置
composer dump-autoload来源地址:https://blog.csdn.net/qq_27229113/article/details/131595362


