这篇文章主要介绍“Ubuntu中怎么搭建无人值守安装系统”,在日常操作中,相信很多人在Ubuntu中怎么搭建无人值守安装系统问题上存在疑惑,小编查阅了各式资料,整理出简单好用的操作方法,希望对大家解答”Ubuntu中怎么搭建无人值守安装系统”的疑惑有所帮助!接下来,请跟着小编一起来学习吧!

环境
Ubuntu-desktop(ip:192.168.56.11)
安装软件
apt install dnsmasq apache2 system-config-kickstart配置dnsmasq
vim /etc/dnsmasq.confbogus-privfilterwin2kinterface=eth0dhcp-range=192.168.5.150,192.168.5.250,12h dhcp-boot=pxelinux.0 enable-tftp tftp-root=/var/ftpd dhcp-authoritative创建必要的目录
mkdir /var/ftpdmkdir /var/www/ubuntu挂载安装介质
mount /dev/cdroom /mntcp /mnt/* /var/www/ubuntu -arf将网络启动文件复制到网络引导目录
cp /var/www/ubuntu/install/netboot/* /var/ftpd -arf/修改apache2配置文件
vim /etc/apache2/sites-enabled/000-default.confDocumentRoot /var/www#这里只给出了关键配置运行system-config-kickstart生成ks.cfg文件
编辑响应文件ks.cfg
vim /var/www/ks.cfg#Generated by Kickstart Configurator#platform=AMD64 or Intel EM64Tinstalltext#System languagelang en_US#Language modules to installlangsupport en_US#System keyboardkeyboard us#System mousemouse#System timezonetimezone --utc Asia/Shanghai#Root passwordrootpw --disabled#Initial useruser wsfnk --fullname "wsfnk" --iscrypted --password $1$Q4SPUaqc$KCsPmeMevJS0zzrqLTeVw0#Reboot after installationreboot#Use text mode install#text#Install OS instead of upgrade#install#Use Web installationurl --url http://192.168.56.11/ubuntu#System bootloader configurationbootloader --location=mbr#Clear the Master Boot Recordzerombr yes#Partition clearing informationclearpart --all --initlabel#Disk partitioning informationpart swap --size 512part /boot --fstype ext4 --size 200part / --fstype ext4 --size 1 --grow#System authorization infomationauth --useshadow --enablemd5#Firewall configurationfirewall --disabled#Do not configure the X Window Systemskipx%packagesopenssh-serveropenssh-clientgccg++vimcurl编辑引导文件
vim /var/ftpd/pxelinux.cfg/defaultpath ubuntu-installer/amd64/boot-screens/include ubuntu-installer/amd64/boot-screens/menu.cfgdefault ubuntu-installer/amd64/boot-screens/vesamenu.c32default installlabel installkernel ubuntu-installer/amd64/linuxappend ks=http://192.168.56.11/ks.cfg initrd=ubuntu-installer/amd64/initrd.gz --prompt 0timeout 0启动相关服务
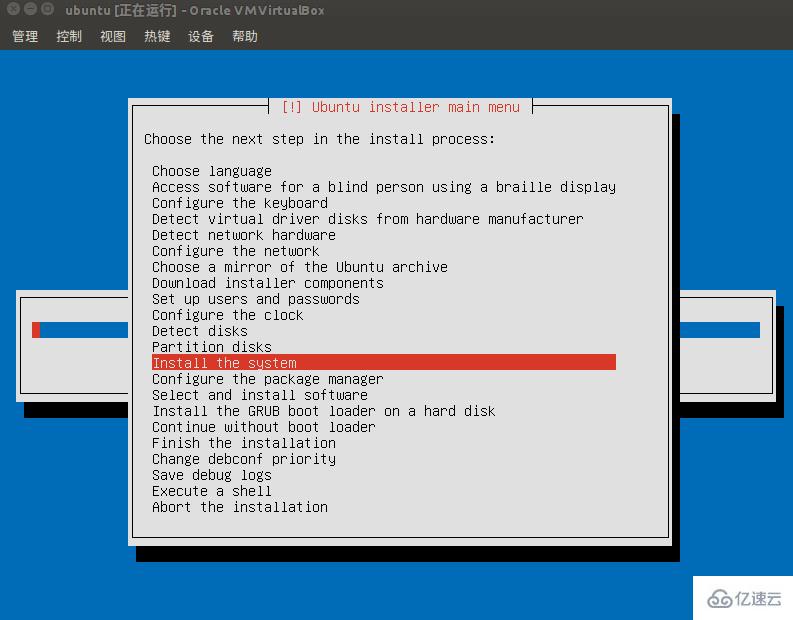
systemctl start apache2systemctl start dnsmasq若安装出现如下错误,


请在ubuntu-installer/amd64/boot-screens/txt.cfg里,append加入如下配置
live-installer/net-image=http://192.168.56.11/ubuntu/install/filesystem.squashfs clock-setup/ntp=false ip=dhcp ksdevice=bootif解决图片所示的错误
vim /var/ftpd/ubuntu-installer/amd64/boot-screens/txt.cfgdefault installlabel installmenu label ^Installkernel ubuntu-installer/amd64/linuxappend ks=http://192.168.56.11/ks.cfg vga=788 initrd=ubuntu-installer/amd64/initrd.gz live-installer/net-image=http://192.168.56.11/ubuntu/install/filesystem.squashfs clock-setup/ntp=false ip=dhcp ksdevice=bootif --- quit到此,关于“Ubuntu中怎么搭建无人值守安装系统”的学习就结束了,希望能够解决大家的疑惑。理论与实践的搭配能更好的帮助大家学习,快去试试吧!若想继续学习更多相关知识,请继续关注编程网网站,小编会继续努力为大家带来更多实用的文章!


