今天小编给大家分享一下vue+element upload上传带参数的方法的相关知识点,内容详细,逻辑清晰,相信大部分人都还太了解这方面的知识,所以分享这篇文章给大家参考一下,希望大家阅读完这篇文章后有所收获,下面我们一起来了解一下吧。
element upload上传带参数
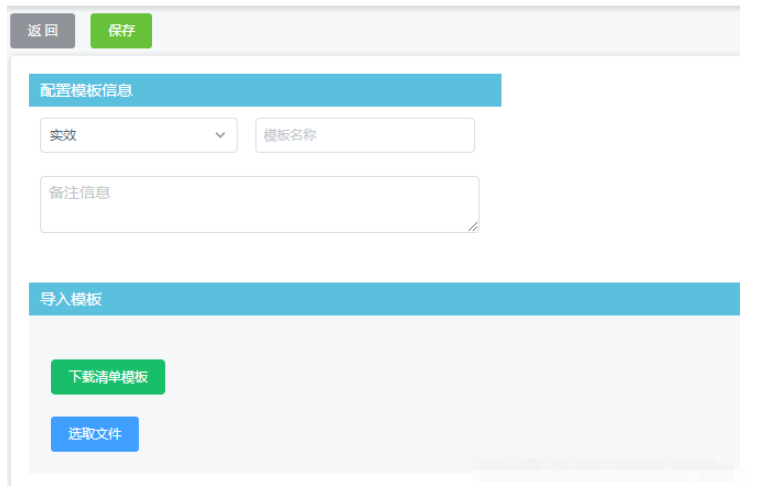
<el-button size="small" type="success" @click="submitUpload">保存</el-button> <el-upload class="upload-demo" ref="upload" :action="action()" :on-preview="handlePreview" :before-upload="beforeUpload" :data="uploadData" :on-error = "error" :on-success="successResave" :on-remove="handleRemove" :file-list="fileList" :auto-upload="false"> <el-button slot="trigger" size="small" type="primary">选取文件</el-button> <!-- <el-button size="small" type="success" @click="submitUpload">上传到服务器</el-button> --> <!-- <div slot="tip" class="el-upload__tip">只能上传jpg/png文件,且不超过500kb</div> --> </el-upload>data里面参数
uploadData:null,methods里面
action(){ return this.portC+"uplodResultsScore" }, //上传 submitUpload() { this.$refs.upload.submit(); }, handleRemove(file, fileList) { console.log(file, fileList); }, handlePreview(file) { console.log(file); }, beforeUpload (file) { this.uploadData = {dstype:this.proType,name:this.mobanname,dsmark:this.value5,}; console.log(this.uploadData) let promise = new Promise((resolve) => { this.$nextTick(function () { resolve(true); }); }); return promise; //通过返回一个promis对象解决 }, //上传成功钩子 successResave(response, file, fileList){ console.log(response) if(response.code==10001){ alert("保存成功") this.proType=""; this.mobanname=""; this.value5=""; this.$router.push("/moban") } }, //失败钩子 error(response, file, fileList){ console.log(response) }, //选择家化实效 selectType(val){ console.log(val) if(val==1){ this.$router.push("/new") }else{ this.$router.push("/new1") } },效果图

element上传函数带参数,自定义传参
下面这是标签
可以看出来 :
http-request="(params) =>beforeMasterPictureUpload(params,‘ruleForm',fileList0)"http-request 传递参数的方法 是可以这样写的,其他方法一样,但是如果写错少些可能会导致覆盖原来的方法。
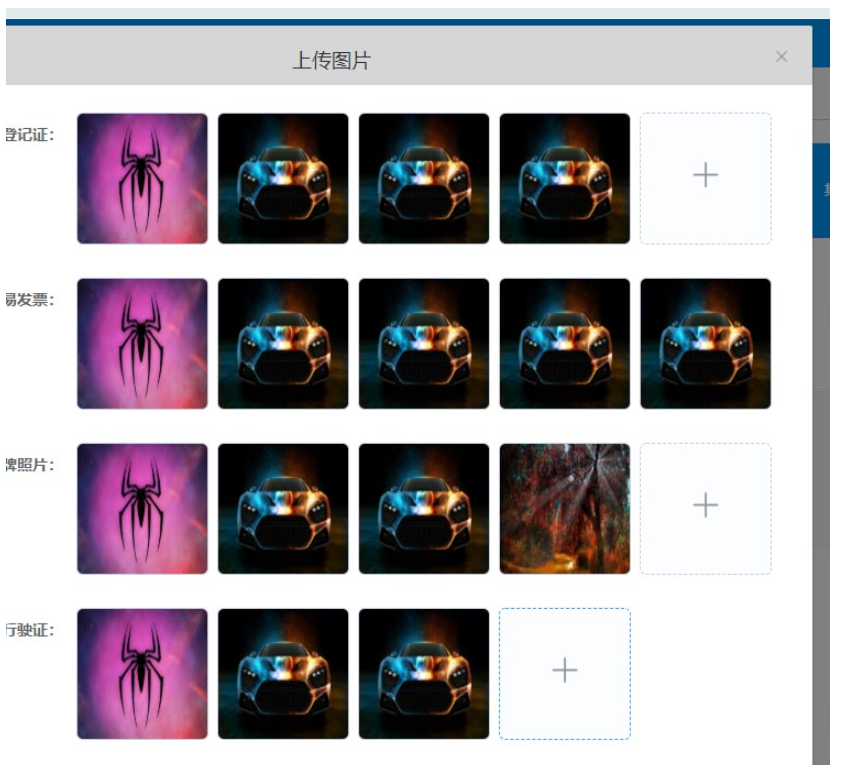
<el-upload :class="{hidesse:hideUpload0,'avatar-uploader':true}" multiple action="这里不需要填或者随便写" list-type="picture-card" :before-upload="beforeAvatarUpload" :on-preview="(params) =>handlePictureCardPreview(params,'ruleForm',fileList0)" :http-request="(params) =>beforeMasterPictureUpload(params,'ruleForm',fileList0)" :on-change="(params,fileList) =>onChangeMaster(params,fileList,'ruleForm','fileList0')" :on-exceed="OnExceed" :on-remove="(params) =>handleRemove(params,'ruleForm',fileList0,'fileList0')" :limit="5" :file-list="fileList0" @click="titext"> <i class="el-icon-plus"></i> </el-upload>下面是JS 接受方法 同样 我们拿 http-request 这个方法做例子
beforeMasterPictureUpload(params, fromData, prop) { console.log('----aaaa', this.fileList); console.log('file', params, fromData, prop);}大家可以输出看看结果 是否有拿到你上面传递过来的字符串或者是值
我将源码放上
HTML标签
<el-upload :class="{hidesse:hideUpload0,'avatar-uploader':true}" multiple action="这里不需要填或者随便写" list-type="picture-card" :before-upload="beforeAvatarUpload" :on-preview="(params) =>handlePictureCardPreview(params,'ruleForm',fileList0)" :http-request="(params) =>beforeMasterPictureUpload(params,'ruleForm',fileList0)" :on-change="(params,fileList) =>onChangeMaster(params,fileList,'ruleForm','fileList0')" :on-exceed="OnExceed" :on-remove="(params) =>handleRemove(params,'ruleForm',fileList0,'fileList0')" :limit="5" :file-list="fileList0" @click="titext"> <i class="el-icon-plus"></i> </el-upload>JS语句
// 主图上传之前 beforeAvatarUpload(file) { console.log('主图上传之前:', file) const idJPG = file.type === "image/jpeg" || "image/gif" || "image/png" || "image/bmp"; if (!idJPG) { this.$message.error( '123123' ); } return idJPG; }, // 图片触发 onChangeMaster(file, fileList, fromData, prop) { // fileList 当前上传框的数据 switch (prop) { case 'fileList0': { this.hideUpload0 = fileList.length >= this.limitCount; } break; case 'fileList1': { this.hideUpload1 = fileList.length >= this.limitCount; } break; case 'fileList2': { this.hideUpload2 = fileList.length >= this.limitCount; } break; case 'fileList3': { this.hideUpload3 = fileList.length >= this.limitCount; } break; case 'fileList4': { this.hideUpload4 = fileList.length >= this.limitCount; } break; case 'fileList5': { this.hideUpload6 = fileList.length >= this.limitCount; } break; default: break; } console.log('判断一次', file, fileList, this.fileList0) if (this.inde > 0) { return } else { //let existFile = fileList.slice(0, fileList.length - 1).find(f => f.name === file.name) //if (existFile) { // this.inde++ // console.log(existFile) // this.$message.error( // '图片重复' + existFile.name // ); // // fileList.pop() // } this[prop] = fileList } }, // 图片个数超出限制 OnExceed(file, fileList) { this.$message.error( '每个选项最多上传5张', "error" ); }, handleRemove(params, fileList, prop, item) { prop.forEach((obj, index) => { console.log(index, obj) if (params.uid == obj.uid) { prop.splice(index, 1) } }) console.log('删除后的数组', prop); setTimeout(() => { switch (item) { case 'fileList0': { this.hideUpload0 = prop.length >= this.limitCount; } break; case 'fileList1': { this.hideUpload1 = prop.length >= this.limitCount; } break; case 'fileList2': { this.hideUpload2 = prop.length >= this.limitCount; } break; case 'fileList3': { this.hideUpload3 = prop.length >= this.limitCount; } break; case 'fileList4': { this.hideUpload4 = prop.length >= this.limitCount; } break; case 'fileList5': { this.hideUpload6 = prop.length >= this.limitCount; } break; default: break; } console.log(prop.length >= this.limitCount) }, 1000) // this.fileList = []; this.dialogImageUrl = ''; }, handlePictureCardPreview(file, fromData, prop) { console.log(file, fromData, prop) this.dialogImageUrl = file.url; this.dialogVisible = true; }, beforeMasterPictureUpload(params, fromData, prop) { console.log('----aaaa', this.fileList); console.log('file', params, fromData, prop); },这是需求案列

以上就是“vue+element upload上传带参数的方法”这篇文章的所有内容,感谢各位的阅读!相信大家阅读完这篇文章都有很大的收获,小编每天都会为大家更新不同的知识,如果还想学习更多的知识,请关注编程网行业资讯频道。


